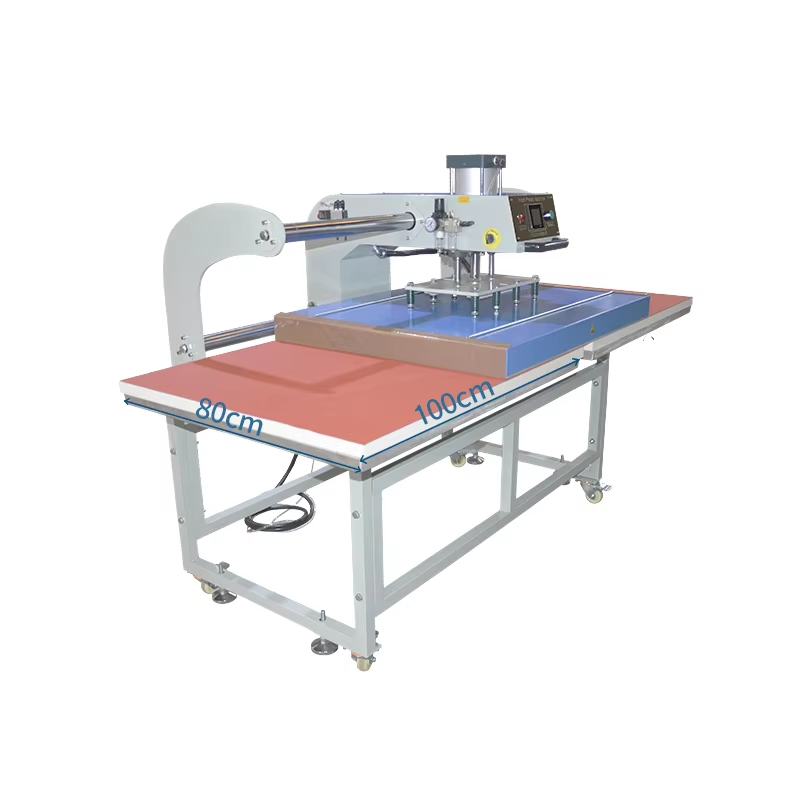
Hoekom Druk die Kritieke Veranderlike in die Prestasie van ’n 80x100 Hittepersmasjien Is
Presiese drukreëling bepaal die hegting van oordragte, integriteit van die materiaal en duidelikheid van die drukwerk in die 80x100 hittepersmasjien in teenstelling met temperatuur of tyd—wat voorspelbare, materiaalspesifieke riglyne volg—wissel drukvereistes dramaties tussen substrate. Katoen vereis 'n hoër PSI (70–90) om die vesels saam te pers vir inkdeurdringing, terwyl poliester bo 40 PSI brand as gevolg van die sensitiwiteit van sintetiese vesels. Studie dui aan dat selfs 'n 10%-drukverskil op groot plaatte die defekkoers met 30% verhoog (Teksiel Ingenieursverslag 2023).
Onvoldoende druk veroorsaak 'n verskynsel van 'n nábeeld en swak oordrag; oormatige krag knak breiwerk of smelt mengsels. Professionele pneumatoriese stelsels verminder hierdie probleem deur geslote-lus sensore wat die druk tydens die aanduurtjie aanpas en gelyke verspreiding oor die volle 80x100 cm plaatoppervlak verseker. Al ondersteun outomatiese oordragstappe (AOS) konsekwentheid, bly handmatige kalibrasie noodsaaklik—veral omdat termiese uitsetting en veervermoeidheid die drukinstellings met tyd kan verander. Toetsing op afvalstof voor produksie voorkom duur foute en verseker betroubare resultate.
| Drukwerking | Resultaat | Voorkoming |
|---|---|---|
| Laag (<40 PSI) | Gedeeltelike oordragte, vervaag | Kalibreer manometers maandeliks |
| Hoog (>90 PSI) | Stofbrandmerke, skynende plekke | Valideer instellings volgens materiaal |
Optimale druk bind oordragte sonder om die substraatstruktuur te kompromitteer—wat dit die beslissende faktor vir gehalte maak.
Optimale drukinstellings vir algemene stoftipes op die 80x100 hittepersmasjien
Katoen: Hoër PSI vir veselverdrukking en inkhegting
Stel druk in op 40–50 PSI vir katoenstowwe. Hierdie reeks verdruk vesels doeltreffend om 'n gladde oppervlak vir inkdoordringing te skep. Nywerheidstoetse toon dat 45 PSI hegting van oordragte optimeer terwyl dit skade aan die stof voorkom (ScalablePress 2024). Druk altyd voor vir 3–5 sekondes om vog te verwyder voordat oordragte toegepas word. Vir ontwerpe met verskeie lae, verleng die druktyd na 20 sekondes by 350°F (177°C) om volledige binding te verseker.
Poliëster: Verminderde PSI om verbranding en kleurstofmigrasie te voorkom
Gebruik 30–40 PSI vir poliëster om termiese skade te voorkom. Laer druk verminder die risiko van kleurstofmigrasie terwyl dit die integriteit van die oordrag behou. By 305°F (152°C) voorkom hierdie instelling die glans-effek wat deur oorverhitting van sintetiese vesels veroorsaak word. Voer toetsdrukproewe eerstens op nade-toegewyde areas uit—poliëster verbrand by temperature bo 290°F (143°C) onder hoë druk.
Mengsels (bv. 65% poliëster/35% katoen): Middestreeks PSI met spesifieke validering vir elke stof
Gebruik 35–45 psi vir katoen-poliester mengsels. Die presiese instelling hang af van die mengverhoudings:
- 50/50 mengsels : Begin by 40 PSI, 300°F (149°C)
- Drievoudige mengsels : Verminder na 35 PSI, 280°F (138°C)
Valideer instellings met skraapstof voor produksie. Mengsels vereis ‘n balans tussen katoen se kompressiebehoeftes en poliester se hittegevoeligheid. Neem suksesvolle parameters aan om konsekwente resultate oor verskeie partye te verseker.
Kalibrering van Druk op die 80x100 Hittepersmasjien: ‘n Stap-vir-Stap-Protokol
Gebruik die drukmeter, toets-oordragte en visuele/taktiele terugvoer om instellings te bevestig
Bereik noukeurigheid met hierdie stappe:
-
Stel aanvanklike druk
Verwys na die masjien se manometer (±1,5 psi-noukeurigheid) om die benodigde pond per vierkante duim (PSI) vir u materiaal te bereik. Nywerheidsverwysings toon dat handdrukpersse tot 30% afwyk na 300 siklusse—digitale manometers voorkom dryf. -
Voer papiertoetse uit
Plaas gewone papier onder die platen, druk vir 2 sekondes by lae hitte (121 °C / 250 °F), en ondersoek die eenvormigheid van die afdruk. Ongeëwewigde merke dui op ’n drukonewewig wat meganiese aanpassing vereis.Afdruk-kwaliteit Aanpassing Nodig Volledig, gelykvormig Geen (optimale druk) Gedeeltelik / vervaag Verhoog PSI stapgewys Skeur / ingedruk Verminder PSI onmiddellik -
Valideer met toets-oordragte
Druk op skraapstof wat ooreenstem met jou produksiemateriaal. Evalueer vir:- Visuele gebreke : Inkverspreiding of 'n verskynsel van 'n tweede beeld (druk te hoog)
- : Taktiele probleme : Styfheid of ondergrondvervorming
- Aanhegtingsmislukking : Afskalling na was-toetse
-
Finaliseer instellings
Sluit gekalibreerde druk slegs na 3 opeenvolgende suksesvolle toetse vas. Herkontroleer weekliks—termiese uitsetting en veervermoeidheid verander die druk met tyd.

